
So let's start with the before. I almost forgot to take "before" pictures, as evidence by the tile removed.

There's the old vanity, medicine cabinet and toilet. Above the toilet used to be shelves, but I took them down a few years ago when I thought I was going to start the renovation.
And now the "after" pictures! Note that the tile extends around the room and well past just the bathtub area which is all that was tiled before.
The ceilings are 10' high, so I can't get everything into the pictures. These show you a good portion of it though. The floor tile is the same as in the guest bathroom. The color scheme is the same as well.

Those are towel rods sans the towels. The medicine cabinet is about the same size as the old one, but I put up a new storage shelf above the new toilet.

Oh, there is the storage shelf. Note the decorative switch plate that handles the light on the ceiling, the light above the vanity, the exhaust fan, the light in the exhaust fan and a night light in the exhaust fan. Cool set up!

Here's the shower complete with curved curtain rod and I've raised the shower head about a foot or so.

I also put a towel rod on the back wall of the shower, where I had one before, just because I like to have it there. The two nooks provide space for shampoo, soap and anything else you want to put in there.
And here's the video tour.
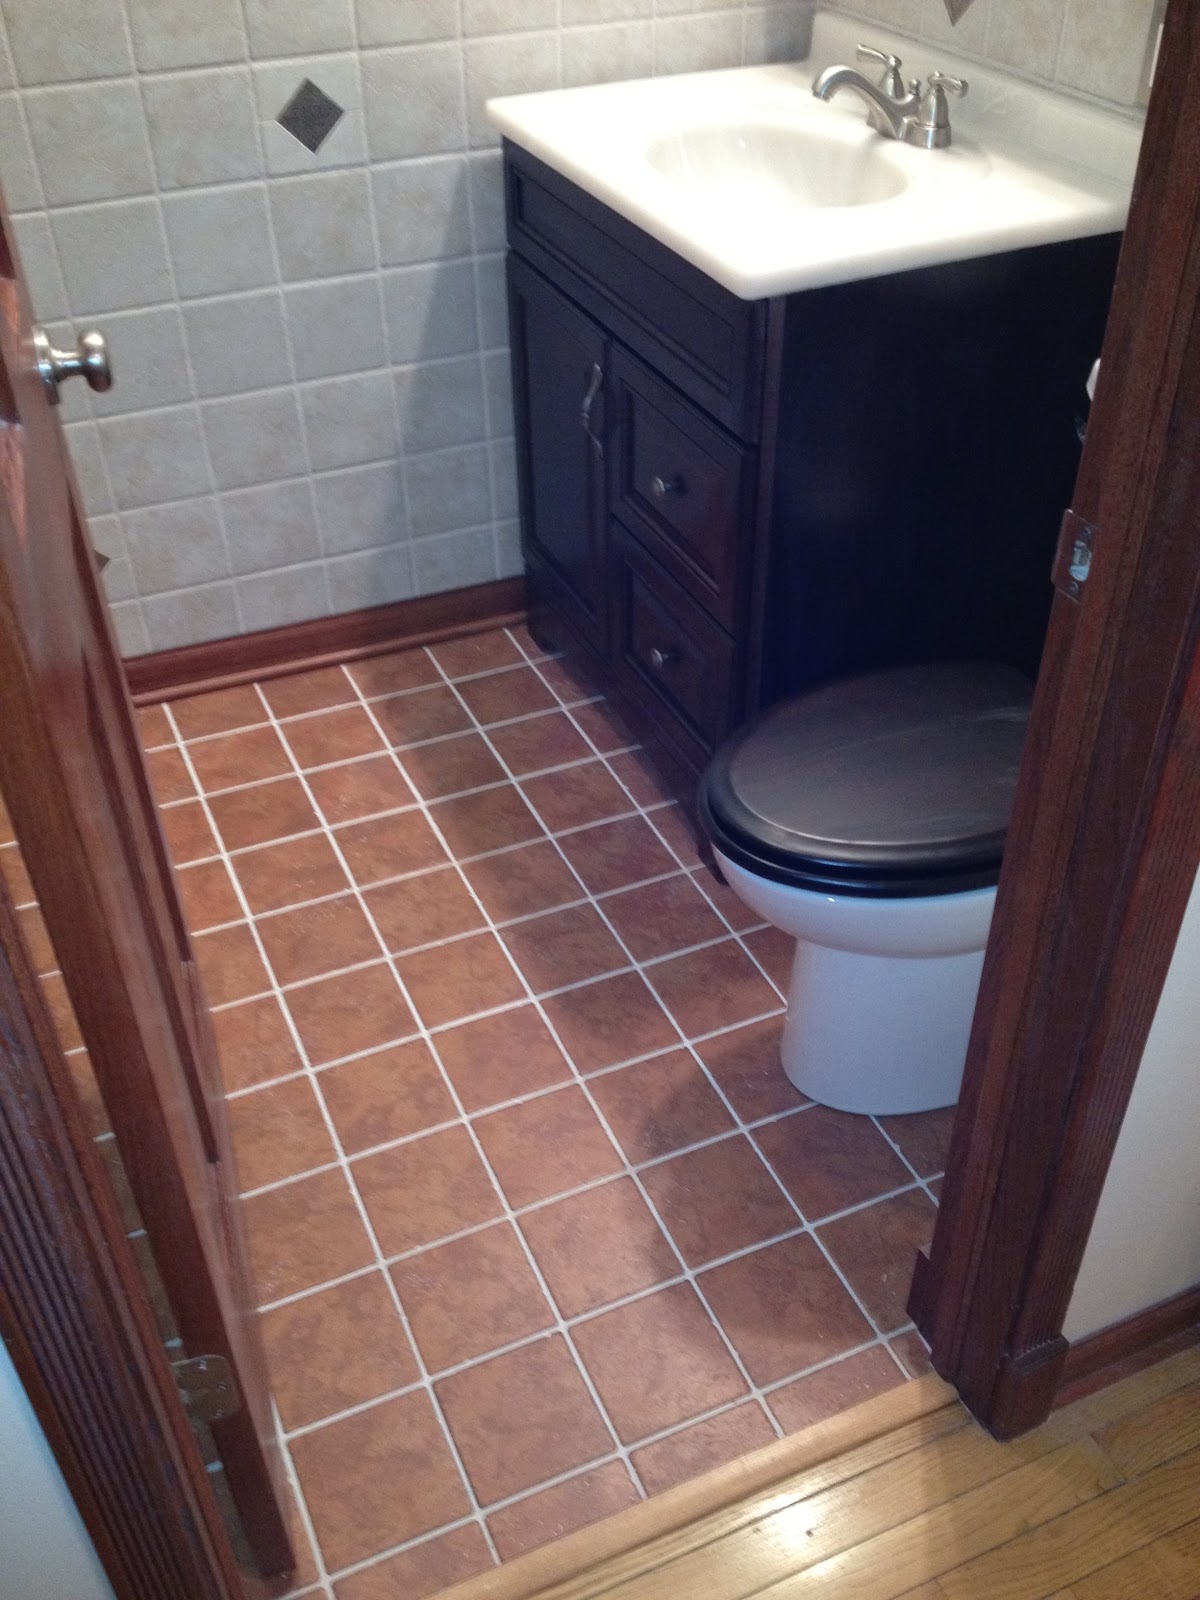
In case you couldn't get the video to play, the only problem so far in the room is that the door won't close!! That's right. Actually, it DOES close, but not like normal. Remember that toilet that I had to pay $100 extra to get because it wasn't stock? Well, it added enough length from the wall into the room that when the toilet seat is down (which I also had to special order to get the color to match) the door won't swing past it. Ugh!!! We've decided MLM is going to use a router to round it out to match the edge of the bowl and not extend past it (which it currently does by about 1/4") and then we'll stain the cut area to match.
It's always something!!!

2 comments:
wouldn't it be easier to re-hinge the door so that it opens out into the bedroom?
Unless you intend to use your master bath as a safe room, it's not necessary to swing from the inside.
ah after watching the video, I suppose routing the seat is more practical.
Post a Comment